
My linen closet become a treasure trove of goodness, and it was like Christmas going through all the pillowcases! I wanted to create a duffle bag/knapsack type of goody for them to carry their clothes in. It had to be soft and not too heavy for them to handle it themselves.
So this was born:

And the greatest part is all you need is:
- Kids pillowcase
- knit scarf
Instructions: Have the iron hot and the ironing board at your disposal. Iron the pillowcase inside out to remove creases. Cut the factory sewn seam at the bottom 1/4". You will now have 2 open sides. The top of the pillowcase will be where you feed the drawstring through and is already finished sewing-wise.
Now turn it right side out but tuck it back inside out to where you will double the material up. Your pillowcase will be in half and you will sew the bottom and match the seam with the factory pillowcase stitch below where the drawstring with be applied.
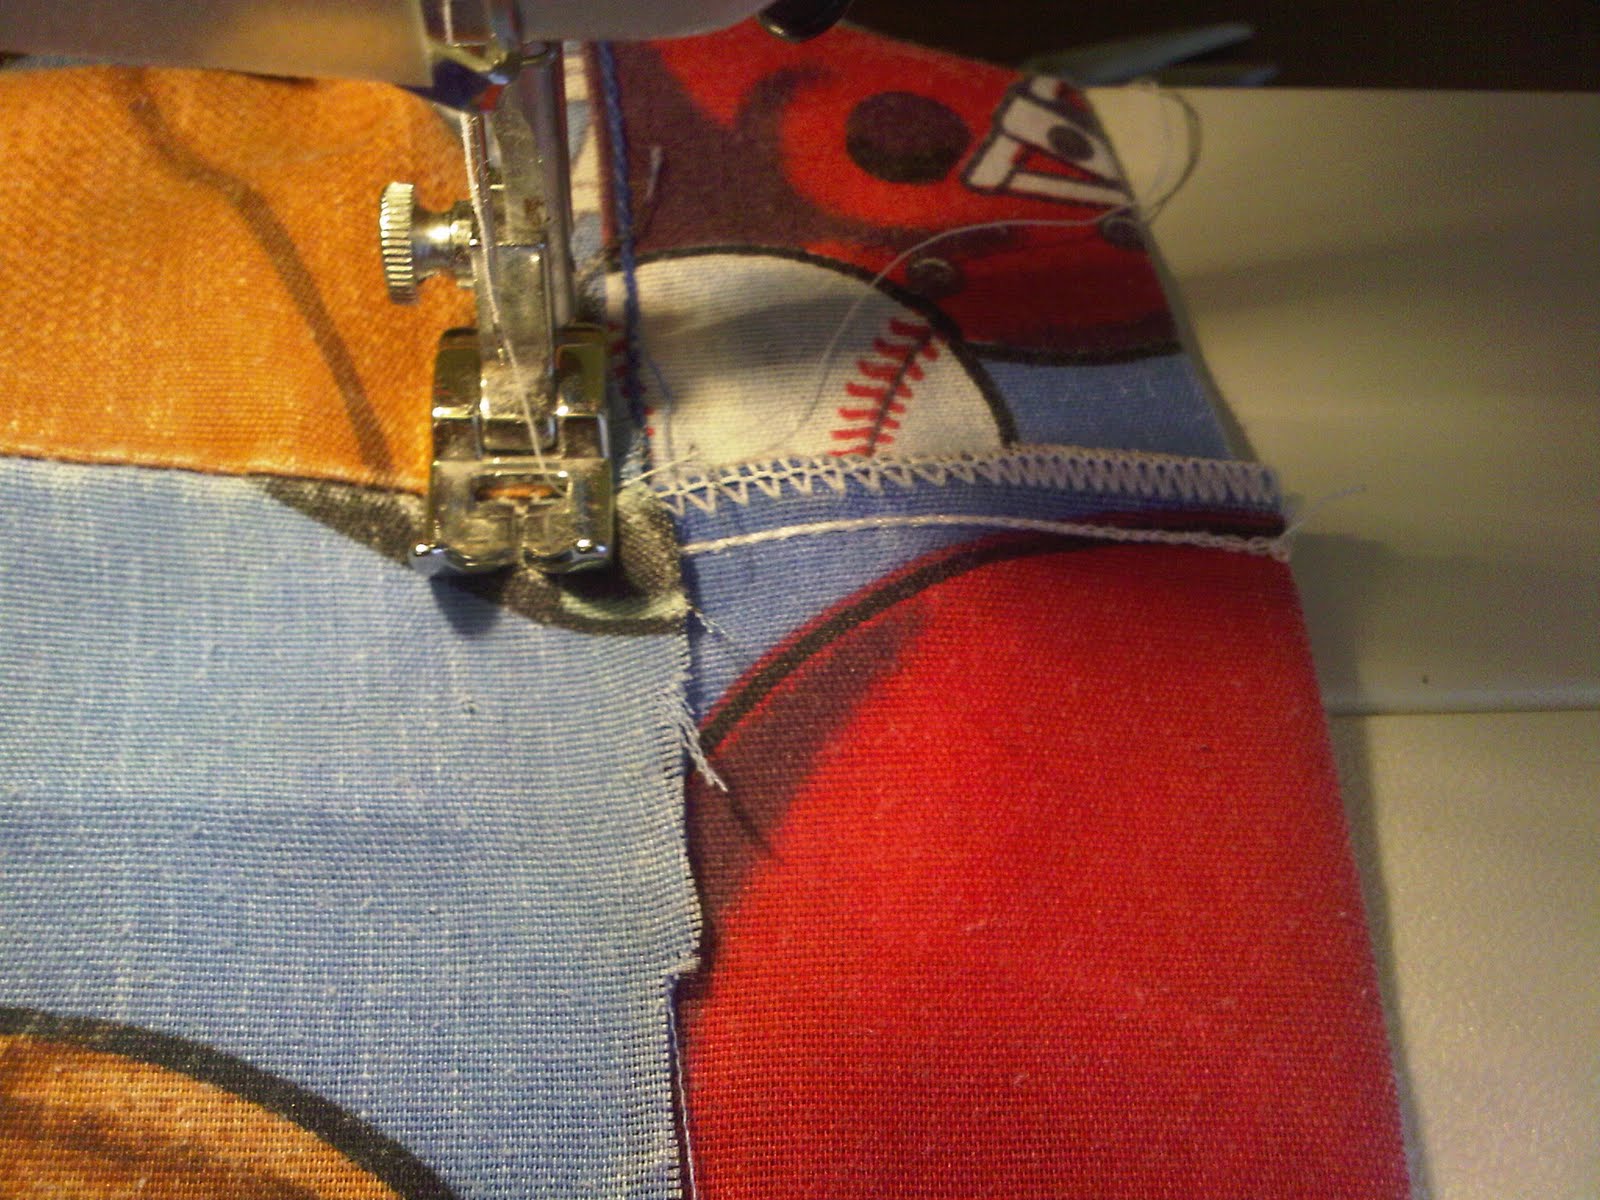
Take a look at the inside to make sure all is well on the bag result and if you have it correct before sewing. You may need to tuck the other way if you can tell it won't be proper when you sew. My pictures beneath will show hemming the bottom.
Once your bottom and top seam all in place turn right side out and it should look like the beginnings of a carrying case.
Now iron again to make it nice and flat. Measure across the top and find your half way point to cut into the first layer of pillowcase. Be careful to not go through both layers.

Feed knit scarf through with safety pin after you have cut scarf and hemmed it making a "belt".

This was super easy and fun to make!
The great part about the knit scarf is you can wrap it all the way around and knot it at the bottom and it makes a handle too.


So all of this made me decide to make myself a cosmetic carrying case. It looks kind of like a purse and very girly. I made the same exact way as the boys, but I cut in every 5" to weave some tulle in and out and tied at one end. Then I sewed some straps inside.

Here are the bottom and top seams I did:


You can sew in some straps or just use the drawstring as a closure. I think this was my most favorite project to date as you can tell by all the pics I snapped!!! Much more simple than my huge robe project and less tiring. I may be making these as gifts. It really couldn't be easier! :o)
HAHA well done! check you out chick, still not seen you do a tshirt tote... xx
ReplyDelete